
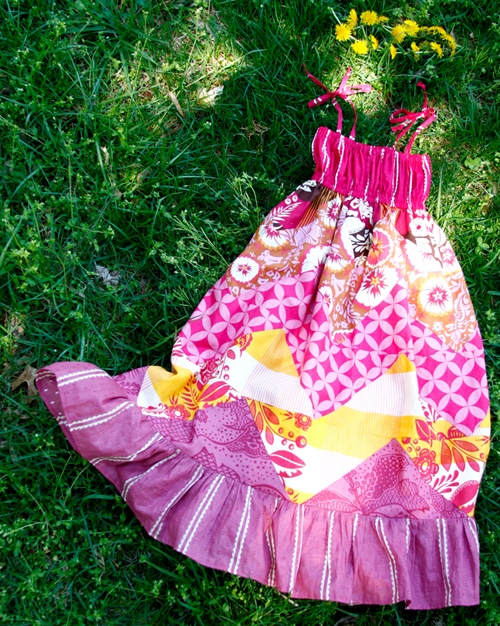
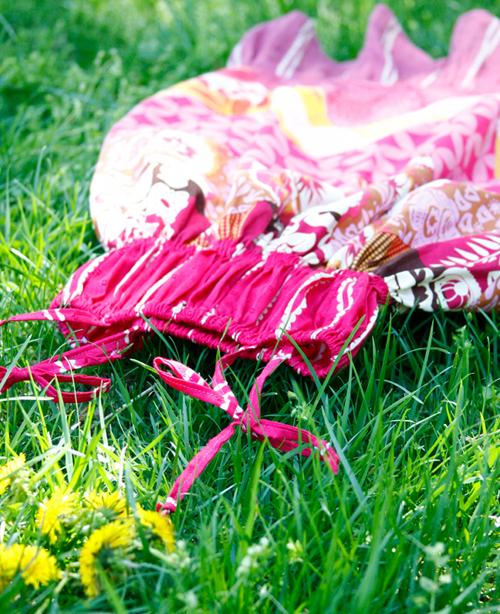
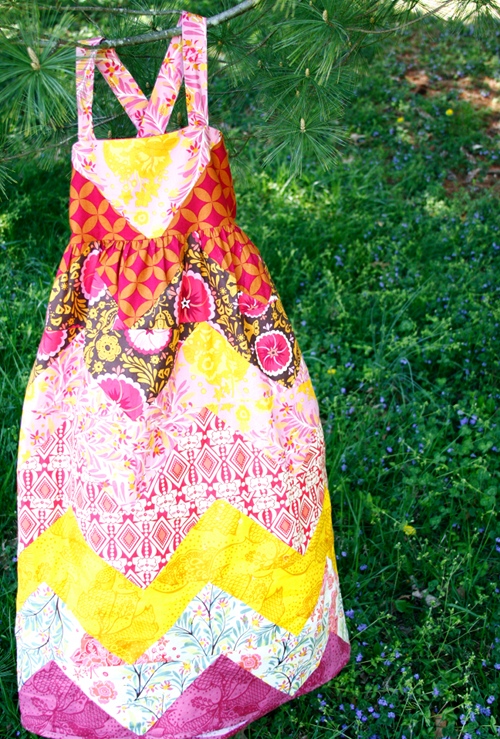
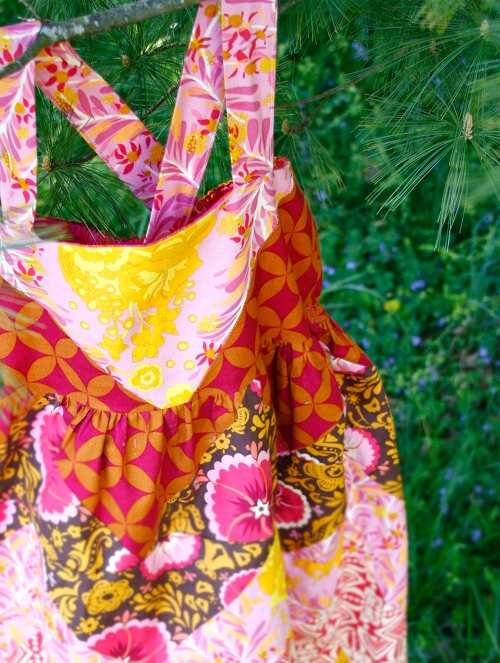
this is soooo awsome"
jacqui shows us how to make up a custom-sized cosy for mugs that are wider at the top than the bottom, especially ones without handles. It’s easy enough to make them for regular sized cups (plus there’s a few patterns out there) but nothing for those of us with odd-sized mugs! Total discrimination ;) So I’ve written up the really easy way to get a pattern for your own mug, handle-less or not, and included a couple of the ones I’ve made for inspiration.
 Similar Posts:


Every year, the San Francisco City Dump selects various local Bay Area artists for its coveted Recology Artist in Residence program. If chosen, the artists are granted every dumpster diver's dream: 24-hour access to 44 acres of recycling facilities and public disposal areas -- aka the Transfer Station, aka the dump. Each artist is given a stipend and works on site for 4 months, combing the grounds for workable materials. At the end of the residency the dump holds a reception, and the results are almost always intriguing. One guy even spun records he pulled from the refuse. From trash to treasures!
To date, my favorite work has come from Barbara Holmes, a woodworker, sculptor, and teacher who spent her residency making, among other things, these intricate geometric forms out of reclaimed lattice. There's something magical that happens in the tonal gaps where the wood once crisscrossed. Be sure to check out her blog, re(f)use, where she documented her process and the show. Read about this year's recipients at Art Slant. And if you're in the area, come check it out! The first shows will be held on May 14 and 15, 2010. [via Teagan Tall]

Taking my lunch to the office has become second nature to me, and part of that is keeping a place setting around the office. It’s just easier than toting it back and forth. But it’s not easier to keep them clean. That is until now!
Check out my awesome plastic canvas box:

That contains…ta-da!
My very own washing kit. I just took a leftover jar and filled it with 1 T. dish soap and topped it off with water.
I rolled up and tucked in a dishcloth, the perfect knit dishcloth worked in two colors of cotton vs wool and cotton.

Now I’m all set!
The really great thing about this box is that I can run it through the dishwasher on the top rack because it’s plastic canvas and cotton yarn.
Here is how you can make your own
::Materials::
2 – Plastic canvas, 30 x 30
3 – Plastic canvas, 16 x 30
2 – Plastic canvas, 6 x 32
2 – Plastic canvas, 6 x 18
1 – Plastic canvas, 18 x 32
20 yards – Cotton yarn, worsted weight
1 yarn needle
::Directions::
Stitch together the lid – Two 6 x 32, 6 x 18, 18 x 32
Stitch together the bottom – Two 30 x 30, Three 16 x 30

I just take my dishes and my little kit to the wash room and wash them right up as needed.
I also use it when Ames C.art has events so we can wash out all our mugs when we finish up. Hot chocolate and tea have become the standing order at all our events.
Have a great weekend and happy washing!
Kristin Roach
No related posts.
"


My sister-in-law gave birth to her second child on March 30th. Keiran came up with the idea of making a baby mobile using felt. He suggested stars and moons and I came up with flowers. We got to work by first bringing out two vintage wool quilts.
Supplies:
Cut 8 circles (pictured is 7), 3 inches in diameter out of wool felt. I choose an ivory color from a vintage Navy blanket.
Cut 16, 1 1/4" in diameter circles. I chose a soft blue from a vintage quilt.
Cut 1 inch into the large circles nine time in a circle as pictured. This creates the petals.
Take your embroidery thread and sew three french knots on each blue circle. Every white flower should have a blue circle on each side. The six french knots in total will hold the flower together. When the last french knot is secure take your needle and bring it up through the center of one of the blue circles. Do this with all eight flowers as these threads will be tied to the embroidery hoop.
Cut a strip from wool that will cover wooden ring. I chose one edge of the blanket that was slightly frayed. Using a glue gun, glue the wool strip to the wooden ring.
Cut three lengths of wool yarn. These will be tied together to hang your mobile from above. Secure them to the ring evenly apart.
Tie the three in a knot at the ends of the yarn. Trim the ends neatly.
Tie all eight threads to embroidery hoop evenly. I decided to hang them at different heights but didn't really have a pattern to do this.
The baby's view of the mobile.
The finished felt flower mobile.
Total Cost:
final price: .47 cents.
It took me about an hour and a half to complete the project. This present is now in the mail and hopefully will arrive today or tomorrow at my brother's home in Seattle.


